Drawing a rose can seem challenging at first, but with the right steps and practice, it becomes a rewarding experience. Roses are not only beautiful to look at, but they’re also one of the most iconic flowers used in art. This step-by-step guide will walk you through the process of Drawing:rso7fhbkxvy= Rose, covering both beginner and advanced techniques.
Materials Needed for Drawing a Rose
Before we dive into the drawing process, make sure you have the following materials on hand:
- H2 pencil for sketching
- Sketchbook or any good quality paper
- Eraser for corrections
- Optional: colored pencils or watercolors for adding color
Step-by-Step Guide to Drawing a Rose
Step 1: Start with Basic Shapes
The foundation of a rose drawing begins with simple shapes. Start by lightly drawing an oval in the center of your paper. This will serve as the rose’s core. From there, draw a larger circle around the oval. This outer shape will guide the placement of the petals.
Step 2: Drawing the Rose’s Center
Next, focus on the center of the rose. Draw small, tight, overlapping shapes within the oval to mimic the look of folded petals. Think of these as the rosebud’s inner petals, where the flower begins to bloom.
Step 3: Sketching the Petals
Now that you have the core of the rose, it’s time to draw the larger, more open petals. Starting from the center, carefully sketch larger petals, curving them outwards. Remember, rose petals are irregular, so don’t worry about them being perfectly symmetrical. Use the circle you drew earlier as a guide to space out the petals evenly.
Step 4: Adding Depth and Shading
Once the petals are drawn, begin adding depth to the drawing by shading. Start from the innermost part of the petals, where the shadows are the darkest, and gradually shade lighter as you move outward. Use a blending tool or a soft tissue to create a smooth transition between light and dark areas.
Different Styles of Rose Drawing
Realistic Rose Drawing
A realistic Drawing:rso7fhbkxvy= Rose requires close attention to detail, especially in the shading and texture of the petals. Focus on the subtle curves and folds of each petal, using smooth gradients to make the rose look three-dimensional.
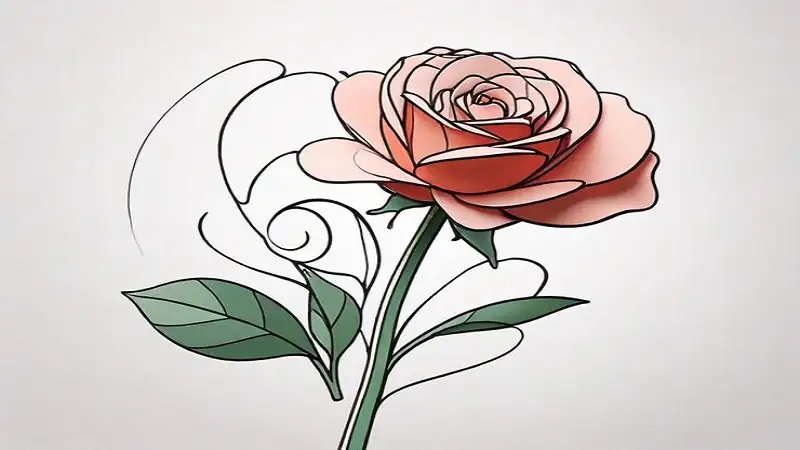
Cartoon-Style Rose
For a more playful approach, try drawing a cartoon-style rose. In this style, the lines are simpler and more exaggerated, with less focus on realism. This can be a great way to practice drawing without worrying about perfection.
Abstract Rose Art
If you want to experiment with your creativity, abstract rose art allows you to use unusual shapes and colors to represent the rose in a non-traditional way. Abstract roses can be as vibrant and unique as you like.
Shading Techniques for Rose Drawings
Cross-Hatching
Cross-hatching involves drawing intersecting lines to build up shading. This is especially useful for giving the rose texture, making it look rough or aged.
Blending and Smudging
For smoother shading, blending and smudging are essential techniques. Use a blending stump or a piece of paper towel to smooth out pencil strokes, creating a soft, natural look on the rose petals.
Stippling Technique
Stippling is a technique where you create shadows using small dots. It takes time, but the result is a delicate, almost pointillist effect that works well for detailed rose drawings.
Using Color in Rose Drawings
Choosing the Right Colors
When it comes to coloring your rose, you’re not limited to red! While red is classic, roses come in many colors like yellow, pink, and even purple. Choose colors that resonate with your drawing’s mood or aesthetic.
Techniques for Coloring a Rose
Whether you’re using colored pencils or watercolors, start by lightly layering the color, then gradually build up intensity. For watercolors, make sure to blend smoothly to avoid harsh lines.
Common Mistakes to Avoid
Overworking the Drawing
One common mistake is overworking your drawing by adding too many details or shading too much. Try to keep your strokes light and build the drawing gradually.
Incorrect Proportions
Another issue is getting the proportions wrong, especially with the petals. Make sure your petals aren’t too large or too small in relation to the rest of the rose.
Inconsistent Shading
Shading inconsistently can make your rose look flat. Be mindful of where the light source is and shade accordingly to give your rose a three-dimensional appearance.
Improving Your Rose Drawing Skills
Practice Tips
The key to mastering Drawing:rso7fhbkxvy= Rose is practice. Don’t be discouraged if your first attempt doesn’t turn out perfectly. Each time you draw, your hand will become steadier, and your eye will become more attuned to details.
Studying Real Roses
If possible, study real roses or high-quality photographs of them. Observing the intricate details of a real rose will help you better understand its structure.
Reference Images and Live Drawing
Having reference images on hand is incredibly helpful. You can also try live drawing by sketching a real rose or using a digital reference.
Rose Drawing for Beginners
For those just starting, begin with a simple sketch of a rose. Focus on getting the general shape right and avoid adding too many details. Once you’re comfortable, you can start incorporating more advanced techniques.
Advanced Rose Drawing Techniques
Adding Texture to Petals
Advanced techniques include adding texture to the rose petals by drawing fine lines and small imperfections that mimic the natural appearance of real petals.
Creating Lifelike Shadows
To make your Drawing:rso7fhbkxvy= Rose truly stand out, work on creating lifelike shadows by observing how light falls on a real rose. Use a combination of shading techniques to replicate these shadows on paper.
Using Different Mediums for Rose Drawings
Graphite Pencil
Graphite pencils are versatile and allow for fine detail. Use different grades of pencils (HB, 2B, etc.) to achieve varying levels of shading.
Charcoal
For a bolder, more dramatic look, try using charcoal. Its deep, rich tones are perfect for creating contrast in your rose drawing.
Watercolors and Ink
For a softer and more fluid approach, watercolors can bring a delicate touch to your rose drawings. Ink can be used to outline and add sharp details.
How to Draw a Rose from Different Angles
Top View of a Rose
To draw a rose from a top view, focus on the spiral shape of the petals. Start with the inner petals and work your way outward, making sure to maintain the rose’s circular form.
Side View and Diagonal Perspectives
A side view or diagonal perspective adds variety to your rose drawings. In these views, you’ll need to pay attention to how the petals layer over each other, as they appear more compact from the side.
Incorporating Roses into Larger Art Pieces
Roses in Floral Arrangements
You can incorporate roses into larger floral arrangements, adding variety to your artwork by combining different types of flowers.
Roses in Nature Scenes
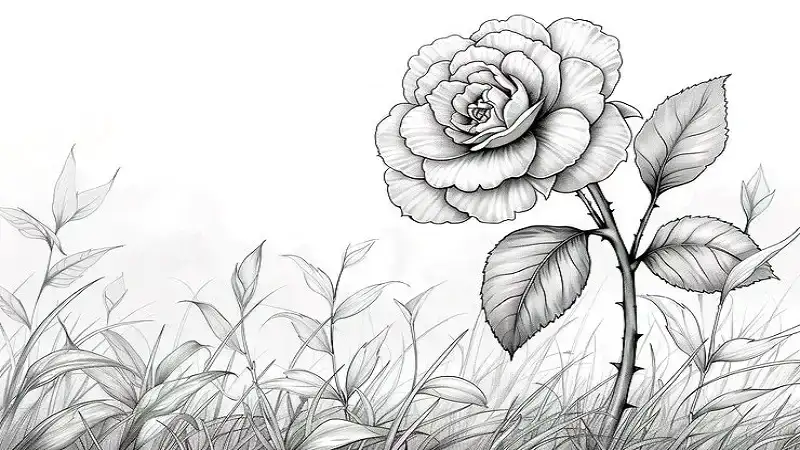
Roses also work beautifully in nature scenes, whether placed in a garden setting or as part of a wild, overgrown landscape.
Inspiration for Your Rose Drawings
Famous Rose Artworks
Many famous artists have depicted roses in their works. Look for inspiration from classic paintings or modern illustrations to see how roses have been portrayed throughout history.
Using Photos for Inspiration
Don’t be afraid to use photos for inspiration. They can provide you with a detailed reference that will help make your drawing more accurate and lifelike.
Conclusion
Drawing:rso7fhbkxvy= Rose can be a fun and rewarding experience, whether you’re a beginner or an experienced artist. The key is to practice regularly, experiment with different techniques, and not be afraid to make mistakes. With time and patience, your rose drawings will bloom just like the real thing.