Bats may seem like mysterious creatures, but drawing them can be both fun and exciting! Whether you’re a beginner or a seasoned artist, learning how to draw a bat offers a great opportunity to explore different styles, from simple outlines to more detailed, realistic drawings. In this guide, we’ll walk you through everything you need to know about Drawing:j-4gl6tcz24= Bat, from understanding their anatomy to mastering shading techniques. Ready to get started?
Why Drawing Bats is Popular
Bats are a fascinating subject for artists because they symbolize a wide range of things, from mystery and Halloween to nocturnal elegance. With their unique wing structure and expressive faces, bats provide a fun challenge for artists who want to practice drawing something out of the ordinary. Plus, they’re a great way to experiment with dark, bold lines and shading!
Materials You Need for Drawing Bats
Before diving into your Drawing:j-4gl6tcz24= Bat, make sure you have the right tools on hand.
Essential Drawing Tools
- Pencils: A range of pencils (HB, 2B, 4B) for sketching and shading.
- Paper: Smooth drawing paper works best for bat sketches.
- Eraser: A kneaded eraser helps in erasing fine details.
Optional Tools for Extra Detail
- Fine-tipped ink pens: For inking the final lines.
- Colored pencils or markers: If you want to bring your bat to life with color.
Understanding the Anatomy of a Bat
Before you start drawing, it’s important to understand the basic structure of a bat. Bats have a unique anatomy that sets them apart from other animals, especially their wings.
Bat Wings Structure
Bat wings are actually their hands! Their long finger bones are stretched out and connected by thin skin, giving them that distinctive winged look.
Facial Features of a Bat
Bats have expressive faces with large eyes, pointed ears, and small noses, which can add a lot of personality to your drawing.
Step-by-Step Guide to Drawing a Simple Bat
Now that you understand the basic anatomy of a bat, it’s time to start drawing. Follow these steps to create a simple bat sketch.
Drawing the Bat’s Body
Start by sketching an oval shape for the body of the bat. This doesn’t have to be perfect—just a light outline to guide you.
Sketching the Bat’s Wings
Next, draw two curved lines extending from the sides of the body to form the wings. Connect these lines with a series of smaller, curved lines to represent the bat’s “fingers” that form the wing structure.
Adding Details to the Face
Draw two small circles for the eyes, a triangle for the nose, and two triangles on top for the ears. You can add tiny fangs for a more classic “Halloween bat” look.
Tips for Shading and Adding Depth
Shading is crucial in making your bat look more realistic and three-dimensional.
How to Shade Bat Wings
To shade the wings, use long, sweeping strokes to create the effect of light passing through the thin skin. Focus on darkening the areas where the wings fold or overlap.
Adding Depth to the Body
For the body, use small circular motions to add texture and depth, making the bat’s body appear furry and soft.
Experimenting with Different Bat Poses
Once you’ve mastered the basic bat, try experimenting with different poses to make your drawings more dynamic.
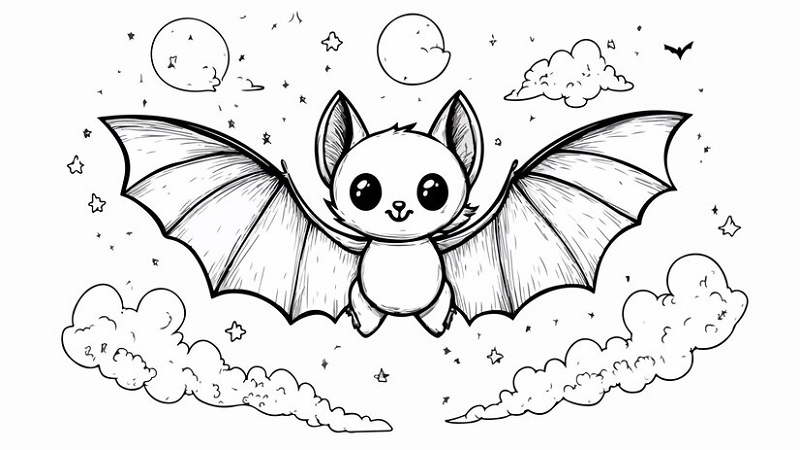
Flying Bats
Drawing a bat in flight can be a fun challenge. Focus on the way the wings curve and stretch as the bat soars through the air.
Resting Bats
Bats are often seen hanging upside down. To draw this, focus on the bat’s body being tucked in, with its wings wrapped around itself.
Common Mistakes to Avoid
When Drawing:j-4gl6tcz24= Bat, there are a few common mistakes to watch out for:
- Overly stiff wings: Bats’ wings are flexible, so make sure they have a natural curve.
- Misplaced facial features: Keep the bat’s eyes, nose, and ears balanced for a more appealing look.
Advanced Techniques for Drawing Realistic Bats
If you’re ready to take your bat drawings to the next level, here are some advanced techniques to try.
Using References for Accuracy
Use photos of real bats as a reference to help you capture their unique anatomy and posture.
Incorporating Light and Shadow
Adding highlights and shadows can make your bat drawing pop. Consider where your light source is coming from to determine where the shadows fall on the bat’s body and wings.
Exploring Creative Styles for Drawing Bats
Not all bats have to be realistic. You can explore various styles to make your bat drawing stand out.
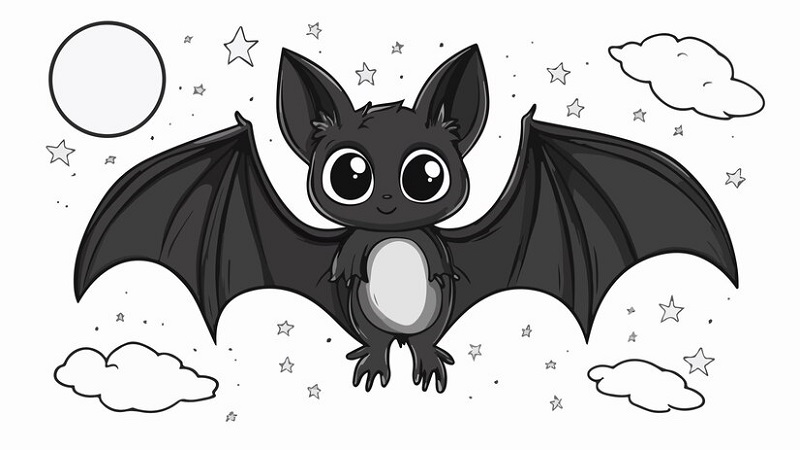
Cartoon Bats
Cartoon bats are a fun, whimsical way to simplify the drawing process. Focus on exaggerating features like big eyes and oversized wings to give your bat personality.
Gothic and Fantasy Bats
If you’re into darker, more stylized art, try drawing a gothic or fantasy bat. These bats often have sharper, more angular features and might include added elements like jewelry or armor.
Conclusion
Drawing:j-4gl6tcz24= Bat can be an enjoyable experience, whether you’re creating a simple sketch or a detailed masterpiece. By understanding bat anatomy and practicing various techniques, you can create drawings that are both unique and realistic. Remember, the key is to have fun and let your creativity fly! Read More lifestyledod.
FAQs
1. How long does it take to learn to draw a bat?
It depends on your skill level. Beginners can master a simple bat drawing in a few hours, while more detailed drawings may take longer.
2. Do I need special tools to draw a bat?
Not necessarily! A pencil and paper are all you need to start. As you improve, you can explore advanced tools like fine-tipped pens and shading pencils.
3. Can I draw bats in different styles?
Absolutely! Bats can be drawn in a variety of styles, from cartoonish to realistic, depending on your artistic preference.
4. What are common mistakes when drawing bats?
Common mistakes include drawing overly stiff wings and misplacing facial features. Take time to study real bats for accuracy.
5. Is drawing bats difficult?
It can be challenging at first, but with practice, you’ll find it easier to capture their unique shapes and textures.